

| Building The Graupner/Heim BO 105 |
Part
2
The horizontal fin is cut from the ABS sheet and is in 8 parts, cutting
and joining these is quite fiddly and it's not easy to get nice joints,
however, Graupner have realised this and have produced an optional fibre
glass fin kit which I am sure will make things a lot easier should you
decide to go this way.
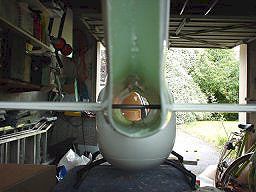
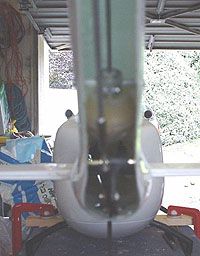
Two carbon rods are fitted through the marked holes in the tail boom and the fins are epoxied to these making sure they are square.
![]()
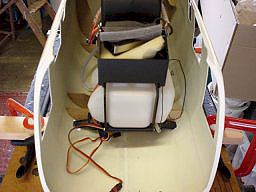
The tail drive shaft is 2mm wire and needs to be cut into 2 parts as shown in the manual. A long section to go from mechanics to 45 degree gearbox and the short section to complete the drive to the main tail gearbox. The front part of the drive shaft is slid into a plastic tube and this is epoxied into the pre-slotted wooden support rail.
The 45 degree gearbox is fitted into the fuselage using 2 screws each side of the tail fin, the holes have to be drilled but are clearly marked. The main tail gearbox simply fits into the top of the fin using 3 self-tapping screws. It is important to grind flats on the drive shaft where it fits into the gearboxes and use loctite on the grub screws; it will slip if you don't, so be warned.
![]()
The rudder control is by a carbon tube from servo to bellcrank and has to be cut to length and fitted with threaded rods each end. The remaining control from bellcrank to tail box is cut from the threaded rod and fitted with ball links. This system is very smooth and slop free for excellent tail control.
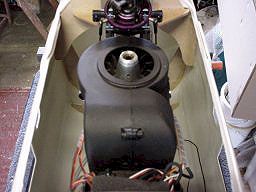
Before removal of the mechanics it's a good idea to fit the top of the main fuselage and main rotor to make sure everything lines up nicely. Once this is achieved remove the mechanics and put to one side so that you can work on the fuselage more easily.
Next month - windows and other scale detail.
This page has been contributed by Jeff
Barrington
Web Site:
Mid Devon Heli Club